Packing a Simple Natural First-Aid Kit for Spring Hikes
A small first-aid kit earns its place in a daypack because it helps you handle ordinary problems without cutting a good day outside short. Spring around the Lake of the Ozarks brings wet trails, slick rocks, changing temperatures, ticks, and plenty of opportunities for a minor scrape or blister. The goal is not to carry a miniature emergency room. It is to bring a compact, organized kit, know its limits, and get professional help when a situation calls for it. That same preparation makes How to pack a useful spring day-outside kit easier, keeping the outdoor basics organized before the next lake day.
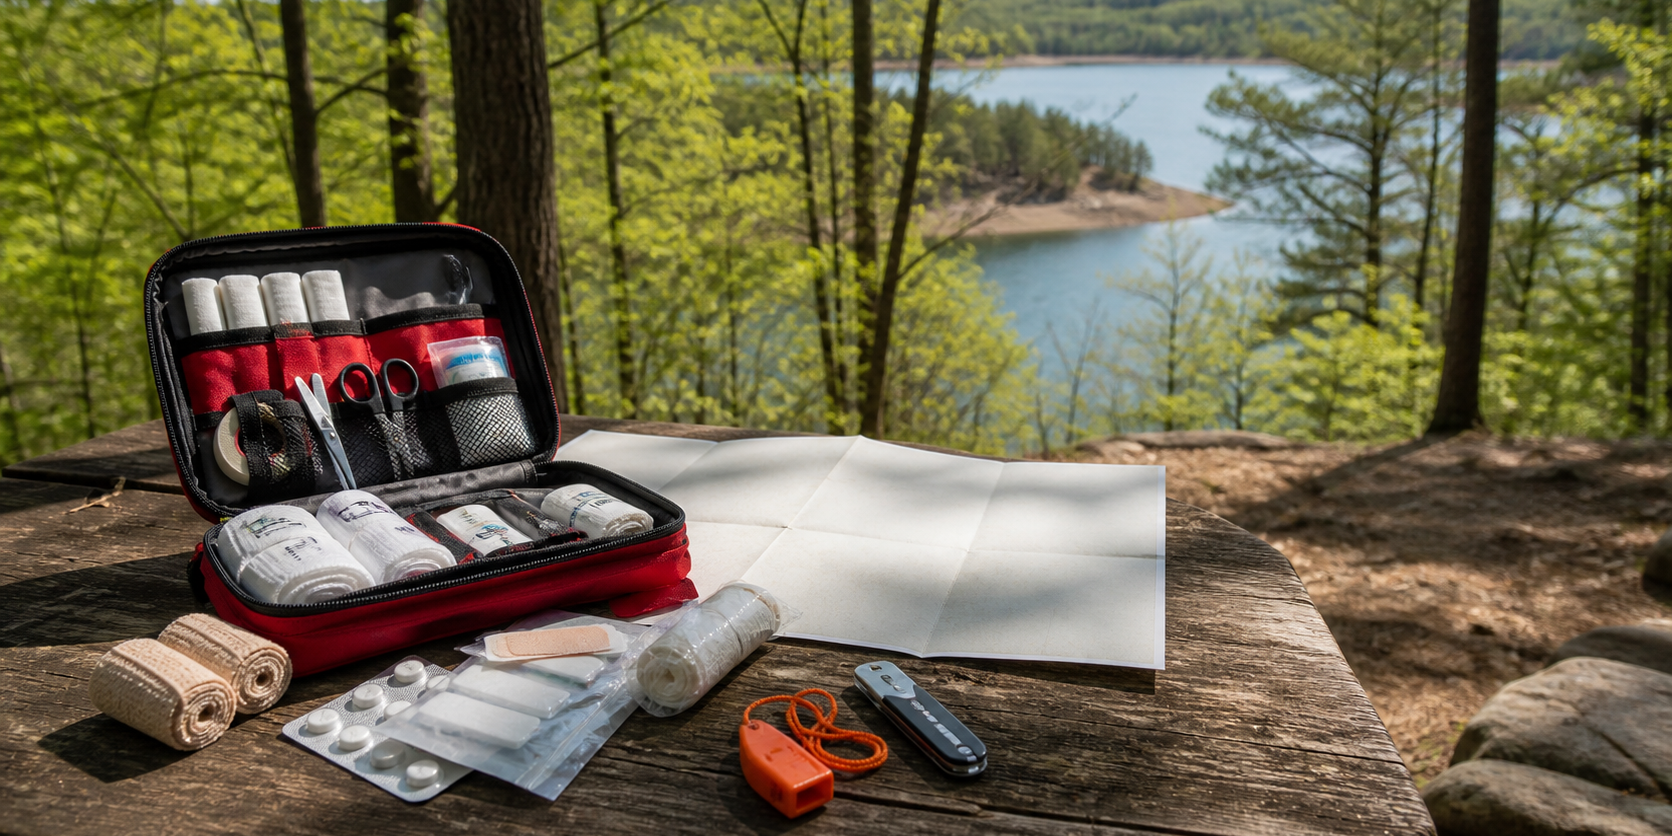
Start with a pouch that is easy to find and open. A bright zip bag or small hard case works better than a collection of loose supplies at the bottom of a pack. Store it with the items dry and clearly separated. Check it at the start of the season, replace expired products, and make sure everybody who hikes with you knows where it is.
Build around common trail problems
Know when to get professional help
Pack for the trip you are actually taking
For most short hikes, the basics are enough: adhesive bandages in a few sizes, sterile gauze pads, medical tape, antiseptic wipes, a small pair of tweezers, a blister pad or moleskin, and disposable gloves. Add any personal medication you may need and keep it in its original labeled container. A compact emergency blanket, whistle, and a charged phone or backup power source belong with outdoor safety gear even if they do not fit inside the first-aid pouch.
“Natural” does not have to mean unprepared or unproven. A simple kit can be low-waste and practical while still relying on clean supplies and standard first-aid basics. Soap and clean water are often more useful for a small scrape than a complicated collection of oils or home remedies. If you choose to carry a soothing balm for dry hands or minor irritation, keep it separate from wound-care supplies and do not use it as a substitute for proper cleaning or medical care.
Plan for ticks before you leave home
Ticks are part of warm-weather outdoor life in Missouri, and preparation is more useful than guessing afterward. Wear long pants and closed shoes where the trail or brush makes that practical, stay near the center of maintained paths, and check clothing, gear, and pets when you return. The CDC’s tick-prevention guidance recommends reducing contact with grassy and brushy areas, using registered repellent as directed, and doing a full tick check after time outside.
Pack tweezers with a fine tip so they are available if a tick is found. Do not rely on heat, petroleum jelly, or other folk methods to remove one. If you are unsure how to remove a tick or develop symptoms after a bite, contact a healthcare professional. A trail kit is for immediate practical care, not for diagnosing what happens later.
Preparation is not a substitute for care. A compact kit handles ordinary problems, but serious concerns need professional help. Build the return-home routine. For the tick-specific side of outdoor readiness, read Natural ways to clean a muddy porch without harsh products.
- Keep bandages, gauze, tape, and antiseptic wipes in a waterproof pouch.
- Add tweezers and a blister-treatment option for common trail problems.
- Carry personal medications in their original containers.
- Check for ticks on people, pets, and gear after returning indoors.
- Know when a problem needs professional care rather than more supplies.
Match the kit to the trip
A one-mile walk near home does not need the same preparation as a remote day hike. Add water, a snack, a light layer, navigation, and a way to contact someone based on the distance and conditions. Let another person know where you are going if the trail is unfamiliar. If storms are possible, check the forecast before you leave and turn around early when conditions change.
Families should also think through comfort items that prevent small problems: sunscreen, a hat, insect protection used according to its label, and enough water for everyone. The best first-aid kit is only one piece of outdoor readiness. Good footwear, a simple plan, and paying attention to the weather do more to avoid trouble than anything inside a pouch.
For helpful context for building a broader family readiness kit, Ready.gov’s emergency-kit guidance is worth consulting before making a final decision.
Keep the kit useful, not forgotten
After a hike, take two minutes to restock what you used and let damp items dry before putting the kit away. Replace opened wipes and worn bandages, and make a note of anything you wished you had. Over a season, the kit becomes more useful because it reflects the way your family actually spends time outside.
For outdoor-minded gifts, gear, and handmade pieces, the LOZ Woodworking shop keeps the same practical mindset: useful items should work in real life, not just look good on a shelf. Build a simple kit, learn how to use the basics, and enjoy spring trails with a little more confidence.
This article is general preparedness information, not medical advice. For a serious injury, signs of infection, allergic reaction, trouble breathing, severe bleeding, or any urgent concern, seek medical care or emergency help promptly.